Table of Contents
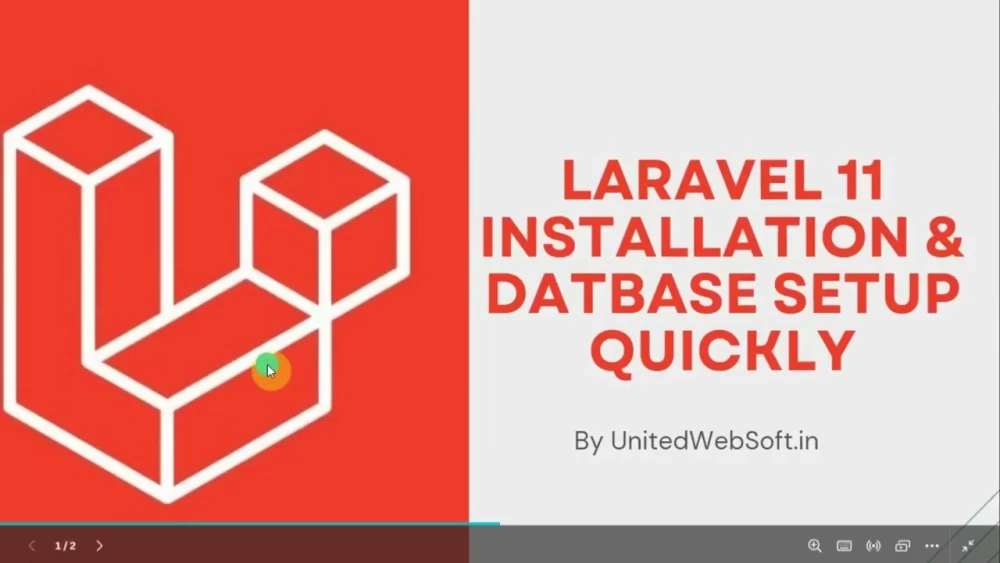
There are lots of blogging platform available nowadays like WordPress. If we consider WordPress kind of CMS for long term use, it can provide some issue like always updating plugins, themes. Also virus,malware attacks are easy in these CMS . There may conflict in plugins and it cause website break . So, finally nowadays creating web application, ecommerce even blog or news website are recommended to develop in framework like the current no.1 PHP platform Laravel. I will provide in details to create a blog or news website from scratch . Today I will create a blog or news website from scracth in laravel. We will install laravel then setup the admin panel. After we will continue in admin for backend functionality like manage posts, categories, tags, comment etc . After finalizing the backend we will focus on the frontend part. In frontend of our Blog,news application, we will creating routes, controllers, views . Then finally will wrap up this tutorial
This is the first series of this tutorials.
1) Install fresh new Laavel
We will first install laravel .
- Let's download Laravel core files from github https://github.com/laravel/laravel .
- Current version is laravel 7 that i am using in this tutorials.
- Download the laravel files and put inside your XAMPP's htdocs folder .
- I am considering XAMPP local server, you may use you preferred localserver like WAMPP.
- After putting laravel download zip fili , extract it.
- Then you should have composer installed in your PC. If not installed, download from https://getcomposer.org/download/ and install it.
- Composer is third party dependency package manager .
- Now open terminal in your laravel folder then execute below command
After 2 to 5 min composer download all laravel dependent packages and put inside 'vendor' folder. After finishing instllation from the above command , let's do some basic setup.
- Open config/app.name
- Mention there app name inside 'name' you can mention anything you desired .
- Set 'local' on 'APP_ENV' ex: 'env' => env('APP_ENV', 'local'),
- Set 'true' on APP_DEBUG ex: 'debug' => env('APP_DEBUG', true)
- You can also mention timezone to your country timezone . For me i am using for Indian timezone, So i set 'timezone' => 'Asia/Kolkata'
- One last importtant thing in this config/app.php is to set key. It is required to encrypt sensitive data from app
- Mention any 32 chracter random string ex: 'key' => env('APP_KEY','nbgfdcsbdfnbgfdcsbdfnbgfdcsbdfsd'),
Well, By default laravel opens inside 'public' folder
To open laravel in root folder rather than in 'public' folder
- cut index.php and .htaccess from 'public' folder to root folder
- inside index.php remove /.. from below
ex:
Now seup Database
- Open your phpmyadmin by visiting https://localhost/phpmyadmin
- Create database by clicking on "Database"
- Now open config/database.php
- Change your database name, username, password
- ex:
- Also change to below for mysql compatible
Now execute below migration command to install some laravel pre-defined database tables
- php artisan migrate:install
- Then execute php artisan migrate
Above commands will create below tables - migrations - users - password_resets - failed_jobs
2) Create database tables for blog,news website
We need below new tables
- admin
- posts
- category_posts
- tags
- users
- comments
- post_categories
- post_images
- post_tags
I have mention below it's sql query , you can copy and execute on your Laravel database . It will create these tables to save your time by creating manually.
3) Create modal files for these tables
We will creating below modal files inside 'app' folder
Mentioned below modal files code Admin.php
Post.php
PostCategory.php
PostImage.php
PostTag.php
Tag.php


