Table of Contents
Aadhaar is a unique identification number issued by the Indian government to residents of India. It is a 12-digit numeric code that serves as a proof of identity and address. The Unique Identification Authority of India (UIDAI) is responsible for implementing and managing the Aadhaar program.
Lots of companies in various sectors like legal, finance , banking etc need their customers to validate their identity via Aadhaar number. Even in ecommerce websites like flipkar, amazon, meesho they validate their seller Aadhaar number.
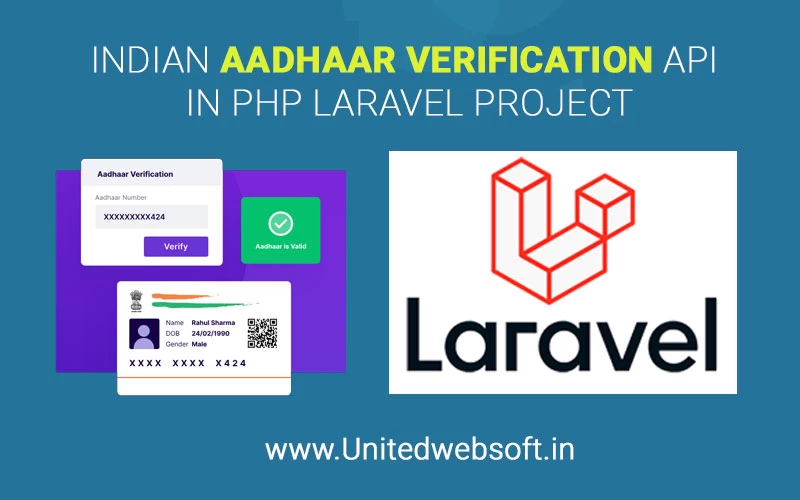
In this tutorial I have covered how to validate an Aadhaar number via API in PHP Laravel . I have used the Cashfree verification API for this purpose.You can also use Indian government UIDAI official API or read more details from UIDAI developer section.
Register and get API Keys from Cashfree
Cashfree is a financial technology (fintech) company based in India that offers a range of digital payment solutions and financial services. Founded in 2015, Cashfree has become a prominent player in India's digital payment ecosystem. Here are some key aspects ofYou need to register to get API from Cashfree.
You need to upload your required documents, details. After an account is activated by the cashfree team, you have to add some credits to use in the production Aadhaar Verification API. Using below URL you can create API to use in our PHP Laravel code
You can copy Client ID and Client Secret from their dashboard
IP whitelist VS public key
Cashfree offers different methods for verifying the authenticity and integrity of requests made to their APIs. Two of these methods are IP whitelisting and public key-based verification. Let's explore the differences between these two approaches:IP Whitelisting:
IP whitelisting is a security mechanism that restricts API access to specified IP addresses that you trust. It is frequently used to improve API security by permitting requests only from known and approved sources.
You give Cashfree with a list of permitted IP addresses, and they configure their system to accept API queries exclusively from those IPs. Other IP addresses' requests will be denied. IP whitelisting is commonly used when you have a fixed set of servers or applications that need to access the Cashfree API. It ensures that only authorized systems can make API calls.
Public Key-Based Verification:
The use of cryptographic keys in public key-based verification allows for the assurance of the legitimacy and consistency of API queries. By validating the digital signature of each request, it enables Cashfree to confirm that requests are coming from a reliable source. You can check offical docs here https://docs.cashfree.com/docs/payouts-2fa
A request for an API is signed with your private key and the signature is added to the request headers. Your public key is used by Cashfree to validate the signature on their end. If the signature is legitimate, the request is real and unaltered if it is. Public key-based verification is useful when you want to ensure the security and authenticity of API requests regardless of their source IP address. It's especially valuable when requests can originate from various servers or applications.
Create a Controller in your PHP Laravel project
We need a controller file in the PHP Laravel project to implement the Indian Aadhaar Verification API . I have demonstrated in partwise for this controller to understand easily.Below createted controller CashfreeController.php inside App\Http\Controllers folder on laravel. Here you can see some variable declation like $cashfree_client_id , $cashfree_client_secret, $cashfree_mode, $cashfree_api_https://unitedwebsoft.in .
In the constructor, I have put API details in my laravel project common admin setting then stored variables to above variables.
Send OTP to verify Aadhaar number details
Below calling API endpoint 'offline-aadhaar/otp' in PHP curl method. Have to pass headers x-client-id, x-client-secret, X-Cf-Signature (while using with public key), Content-Type in the request. If successfull OTP send it response like {"ref_id":"4247007","status":"SUCCESS","message":"OTP sent successfully"} . I have checked the response status from the API and returned my own response to handle with the project logic . Currently I am talking about Controller files only. Later will demonstrate view file , javascript file to properly use this controller's method.
Submit OTP for Aadhaar Verification
Below is a function to check if the OTP entered by the user in our interface is valid that last sent OTP by the API to Aadhaar registered mobile number. Here the API endpoint is 'offline-aadhaar/verify' .
Generate Signature
Note: I have put public_key downloaded from cashfree dashboard to folder 'storage/app/cashfree/' . This function is must to generate unique signature for API security point of view.
Create View file for Aadhaar Verification Interface
I have considered you already setup a Laravel project with its database. You can use below view file code to your user registration page or profile page .
Javascript file
Create a javascript file aadhaar_verification.js and put below . Do call this file in your laravel master file . ex:
Here you should grasp the idea behind Indian Aadhaar Verification using API in our PHP Laravel Project. To summarize the steps , register and get the API key details from Verification service provider like cashfree, then put in our controller and use it from view and js file. I am Pawan Kumar a full stack web developer from Delhi, India working since 2008. If you have any requirements then let me know. If you have any query , you can write in below comments.


